So my niece, Grace's birthday is in December, but since she is with her mom at that time we normally have her birthday party sometime in January. This year we had to push it back to the first week in February due to some scheduling conflicts. Anywho! For her birthday cake this year she told me that she needed a Hello Kitty/Mushroom cake. You might be wondering how do Hello Kitty and Mushrooms go together...I will tell you. Apparently in the mind of a 6 year old Hello Kitty is pretty cool. (I totally agree with this!) But apparently so are the mushrooms from Super Mario Brothers. So, in her mind she has come up with the idea of putting these two things together into one cake.
So after thinking on this long and hard I finally came up with an idea. She saw these things of candy at World Market that are sweet/sour pieces of candy and what do you know....they come in two styles of holders...Hello Kitty & Mushrooms from Super Mario Bros. So I decided that I would make a checkerboard cake (inside and out) and have Hello Kitty and the Mushrooms facing off against each other. My original idea was to go and buy the candy holders and put them on the cake, but after finding out how much they are just for one I decided that wasn't such a good idea.
I started the cake tonight and to get the checkerboard effect on the inside of the cake I made two types of cake, Chocolate and White. Once you have them both cooled you take a knife (tried to find a cookie cutter, but they apparently don't make them as big as I needed) and a ruler and go to town. You cut a smaller square or circle depending on what type of cake you are doing out of the inside of both cakes and swap the layers. Then in the layer you just swapped you make a smaller square/circle and swap. Keep going until you have reached the middle of the cake. I made my layers about 1 inch in width.
Once you have both cakes done you ice the inside and stack the cakes. Now when you cut into the cake it should look like a checkerboard on the inside.


To ice the cake I decided to use pink and green. I did a pink and green checkerboard on the top of the cake and then alternated the colors on the side of the cake between pink and green. After the cake was iced I decided to make Hello Kitty and Mushroom cake pops. For instructions on how to make cake balls/pops you can see the link below. Bakerella Cake Balls
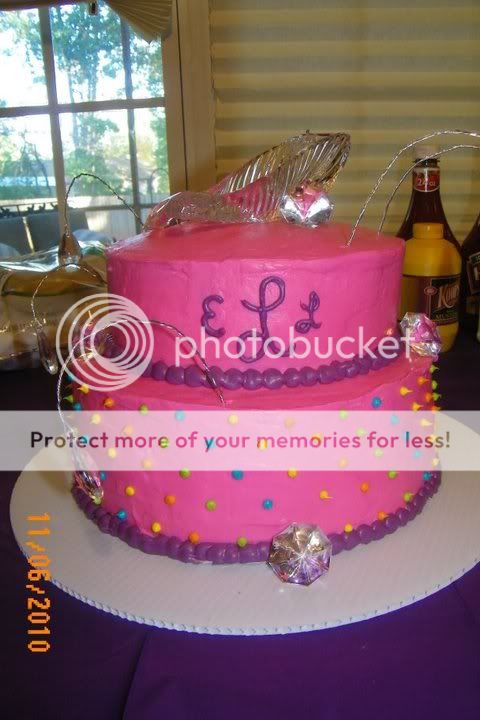
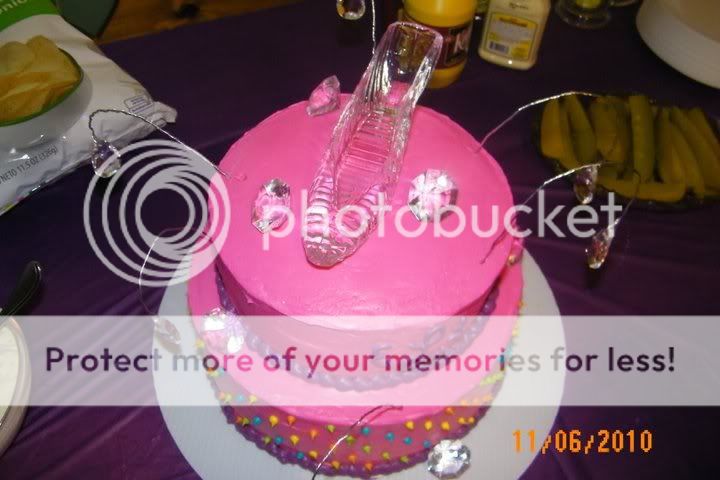
Below is a picture of the final product.